
Spotted over on Mastodon, we thought Alexander’s (AKA @PistonPin) PCB holder design was an excellent tool and a great example of functional 3D printing and FreeCAD. Chatting with Alexander it’s clear he is an experienced CAD user with lots of previous projects under his belt.
“I switched from Fusion 360 to FreeCAD a few years ago, when Autodesk decided to cut back on features from the maker license. This was a much-needed reminder of the importance of open source and truly owning your creations, so I’m very thankful to Autodesk for this decision!”
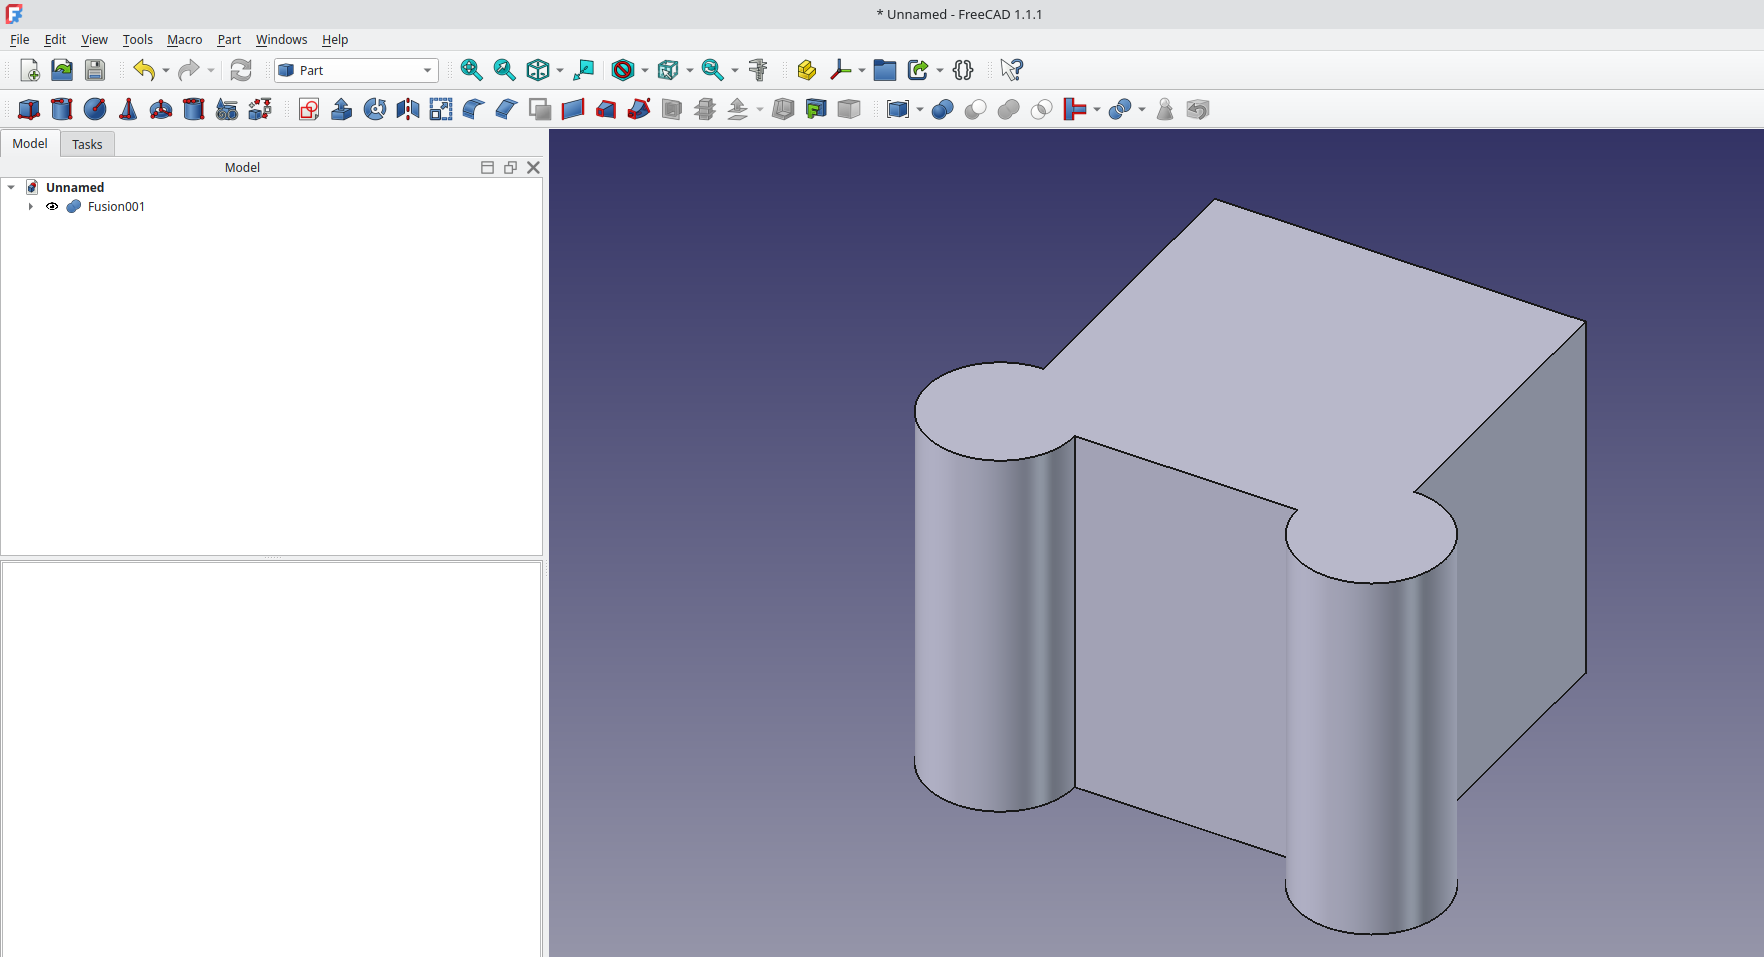
Alexander has mainly used the PartDesign workbench and tools to create this useful design and he also used some incorporated some earlier project parts that was also built around 2020 aluminium extrusion. To draw the extruded aluminium profile Alexander used the Sketcher tools to create just one of the extrusions slot profiles.

With the single slot profile sketched and constrained he then used the PolarPattern tool to create the other 3 identical slot profiles. Adding a simple circle for the centre bore and some chamfers to the corners, Alexander could then extrude the design to match the length of aluminium he planned to use.

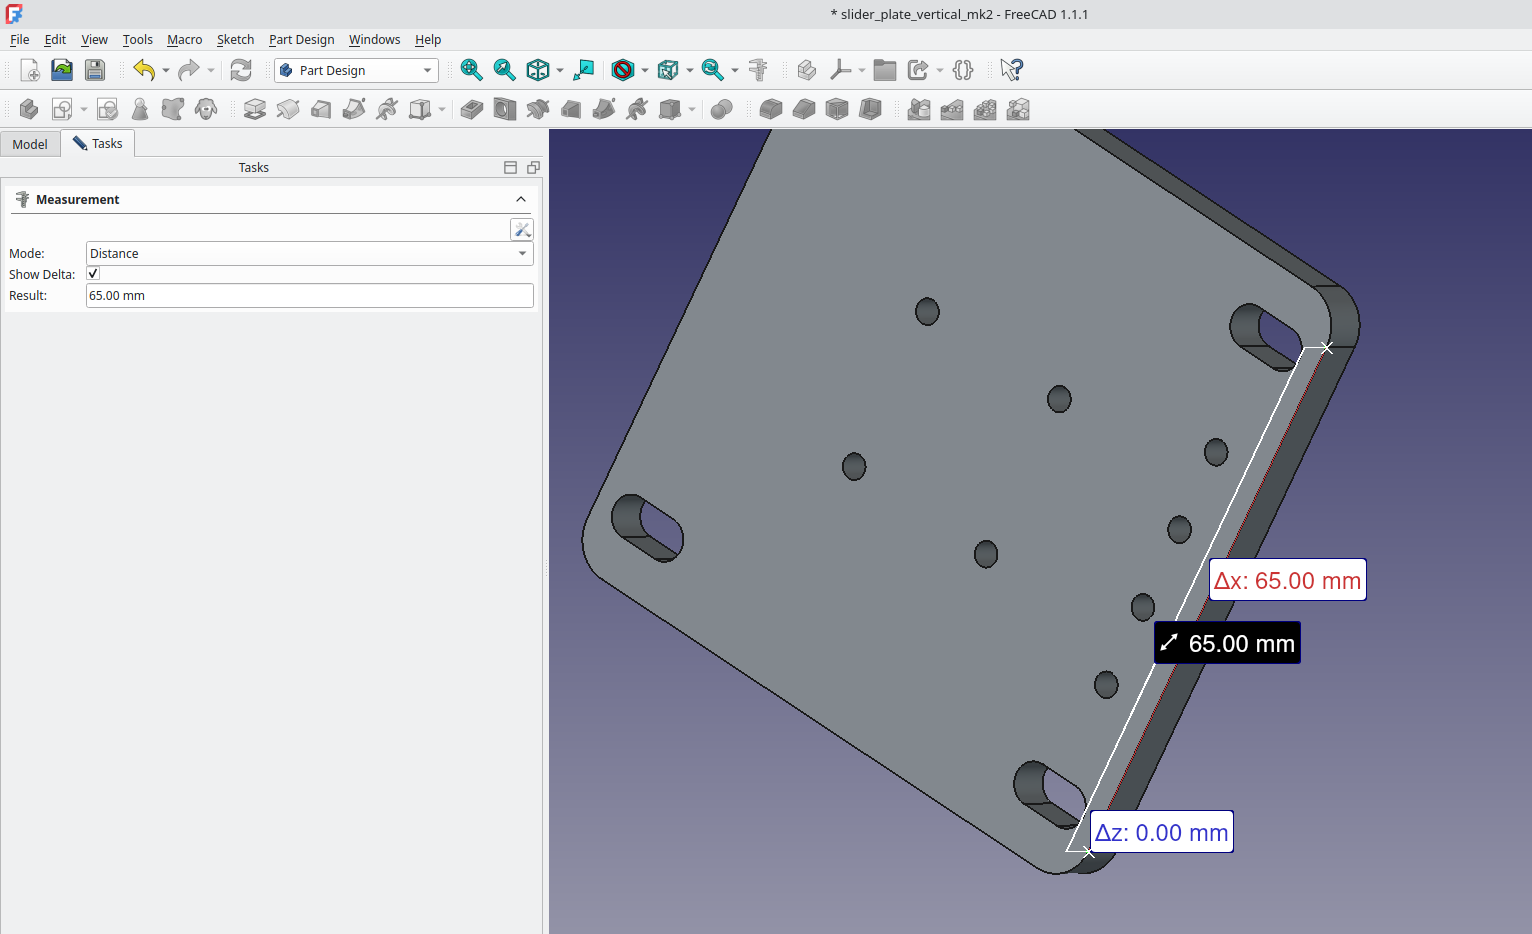
Drawing the legs and the position-able PCB holding blocks, Alexander has made use of the XY plane and added other Datum planes to sketch on to. He has used the A2plus workbench as a simple way to check the fit of each of the individual sections onto the extruded rail.

To make the knob that will lock the PCB clamps into position Alexander used a profile sketch on the XY plane and used the Revolution tool to create the basic geometry. Then adding a sketch to pocket the serrated grip, he finally added some fillets to smooth out the grip sections.

The results are excellent. The hardware, apart from the aluminium extrusion, are all M5. Alexander mentions he has spent a lot of time making sure that the required tolerances for the M5 parts are correct meaning that everything should adjust well with nothing being too tight or too loose! The resulting tool looks excellent and should suit a range of PCB projects in terms of size and in terms of workholding for SMD or through hole assembly and soldering. If you want to print one of these Alexander has uploaded the project, excellently including the FreeCAD project files over on Printables.
7 responses to “Forged in FreeCAD: Alexander’s PCB Holder”
[…] involves? [Jo Hinchliffe] at FreeCAD reached out to [PistonPin] for more detail and has a blog post explaining the workflow and steps involved in this part. As a bonus, STEP files and the FreeCAD project file are all […]
[…] involves? [Jo Hinchliffe] at FreeCAD reached out to [PistonPin] for more detail and has a blog post explaining the workflow and steps involved in this part. As a bonus, STEP files and the FreeCAD project file are all […]
[…] involves? [Jo Hinchliffe] at FreeCAD reached out to [PistonPin] for more detail and has a blog post explaining the workflow and steps involved in this part. As a bonus, STEP files and the FreeCAD project file are all […]
[…] involves? [Jo Hinchliffe] at FreeCAD reached out to [PistonPin] for more detail and has a blog post explaining the workflow and steps involved in this part. As a bonus, STEP files and the FreeCAD project file are all […]
[…] involves? [Jo Hinchliffe] at FreeCAD reached out to [PistonPin] for more detail and has a blog post explaining the workflow and steps involved in this part. As a bonus, STEP files and the FreeCAD project file are all […]
[…] [Jo Hinchliffe] at FreeCAD reached out to [PistonPin] for extra element and has a weblog publish explaining the workflow and steps concerned on this half. As a bonus, STEP recordsdata and the FreeCAD mission file are all […]
[…] involves? [Jo Hinchliffe] at FreeCAD reached out to [PistonPin] for more detail and has a blog post explaining the workflow and steps involved in this part. As a bonus, STEP files and the FreeCAD project file are all […]